

How to Transfer .xyz Domain from Namecheap to Cloudflare (Hosted on Blogger)
Published on August 9, 2026
Transferring your domain to Cloudflare Registrar allows you to manage your DNS and domain registration at cost without markups. If your site is hosted on Google Blogger, following the correct setup ensures zero downtime and prevents SSL configuration issues.
Note: When you transfer a domain to Cloudflare, you do not lose any remaining time on your existing registration. Cloudflare automatically extends your domain registration by one full year as part of the transfer process.
Step 1: Add the Domain to Cloudflare & Update Nameservers
- Log in to your Cloudflare account and click Add a site.
- Select the Free Plan and allow Cloudflare to scan your existing DNS records.
- Note the two Cloudflare nameservers assigned to your account.
- Log in to Namecheap:
- Navigate to Domain List → Manage next to your domain.
- Under Nameservers, change the selection to Custom DNS.
- Enter the two Cloudflare nameservers and click the green checkmark to save.
*Note: DNS changes typically propagate globally within 5 to 15 minutes.
Step 2: Configure Blogger DNS Records (Avoid SSL Conflicts)
Because Google Blogger manages its own free SSL certificates, routing web traffic through Cloudflare’s proxy during setup can cause connection errors.
- Inside Cloudflare, navigate to DNS → Records.
- Locate the 4 A Records (pointing to Google's IPs) and the 1 CNAME Record (
wwwpointing toghs.google.com). - Edit each of these 5 records and toggle the Proxy Status from Proxied (Orange Cloud) to DNS Only (Grey Cloud).
- Leave all email-related records (MX, TXT, DKIM, DMARC) untouched.
Step 3: Unlock the Domain & Get the Auth Code from Namecheap
- In Namecheap, go to Domain List → Manage → Sharing & Transfer.
- Ensure Domain Lock is toggled to OFF.
- Verify that your Registrant Contact Email is up to date and accessible.
(Caution: If updating your email address, make sure to opt out of the optional 60-day transfer lock prompt). - Click Auth Code, select a transfer reason, and submit to request your transfer authorization code via email.
Step 4: Initiate Transfer in Cloudflare & Add 1-Year Registration
- Once Cloudflare displays your domain status as Active, go to Domains → Transfers in the Cloudflare sidebar.
- Select your domain under Ready for Transfer and click Continue.
- Paste your Auth Code into the field.
- Confirm your contact details and complete the checkout payment. This transaction pays for the transfer and adds one full year to your domain's expiration date at wholesale pricing.
Step 5: Fast-Track the Transfer Approval
By default, domain registrars hold outbound transfers for up to 5 days. You can bypass this wait time immediately:
- Wait 10 to 15 minutes after submitting payment in Cloudflare.
- Check the email inbox associated with your Namecheap account for an email titled "Standardized Form of Authorization for Transferring Out".
- Open the link inside the email and click Approve Transfer.
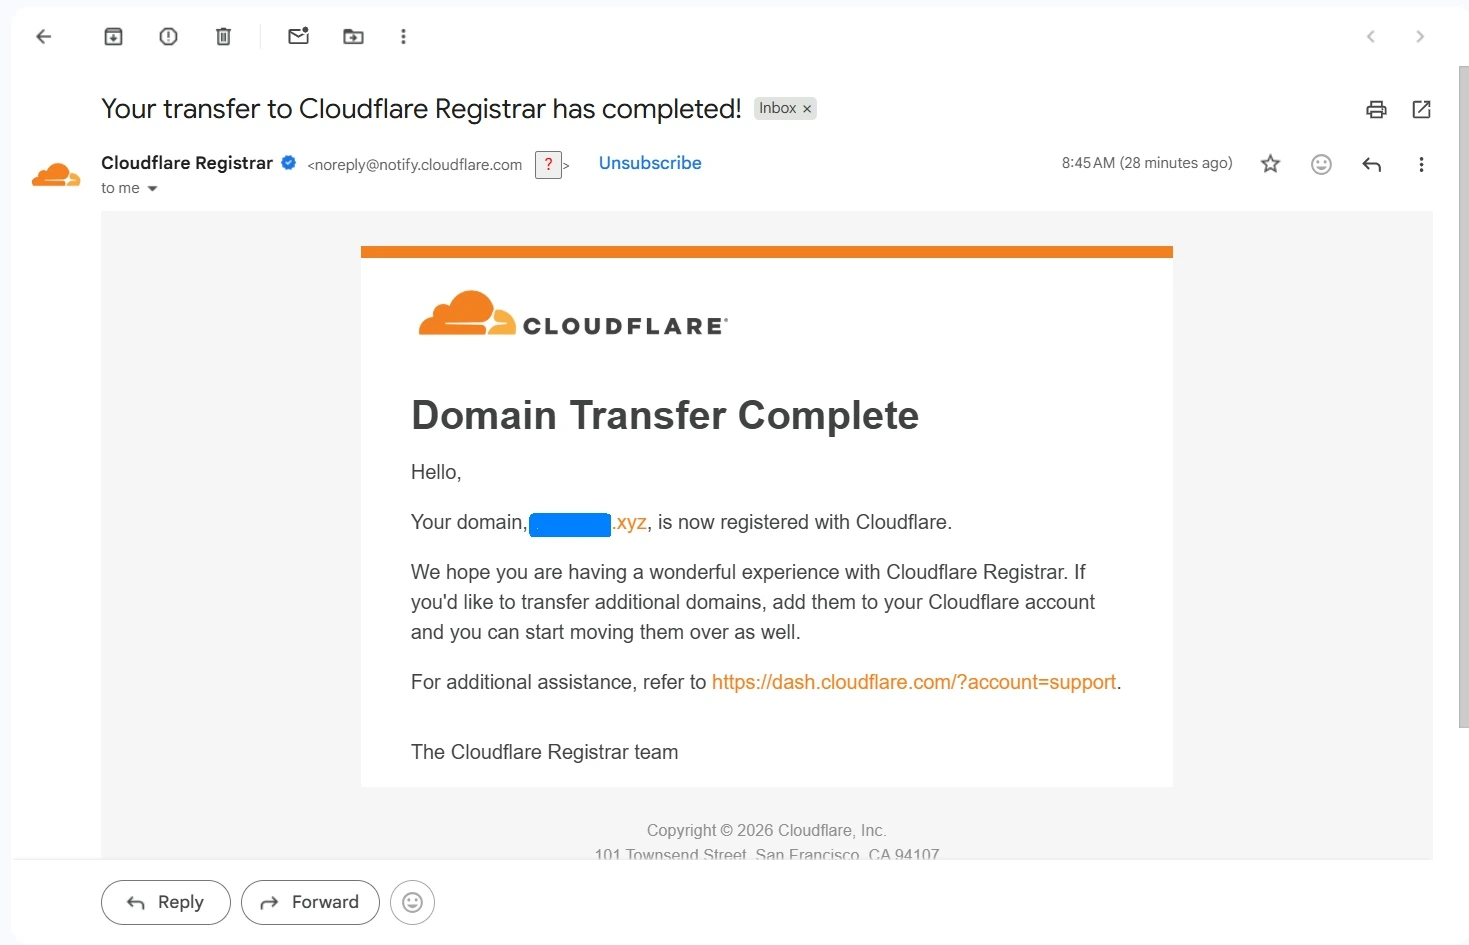
Once approved, Namecheap immediately releases the domain, and Cloudflare finalizes the migration within minutes while keeping your Blogger site online throughout the entire process.
Have you transferred your domains to Cloudflare yet? Drop a comment on my LinkedIn post and let's discuss your setup.